The main seasonings I use are salt and pepper and Montreal Steak Seasoning.
Use a BBQ sauce you like, but use it sparingly. You don’t want to overwhelm the flavor of the meat.
Anytime you cook something that drips you should place a piece of aluminum foil, or a rimmed cookie sheet underneath The Rib-O-Lator™ to keep your grill clean.
If you are only cooking enough food to fill one or two trays you can just leave the motor off with the trays at the top position to cook your food. You will still be cooking with indirect heat.
A FEW IMPORTANT TIPS TO REMEMBER . . .
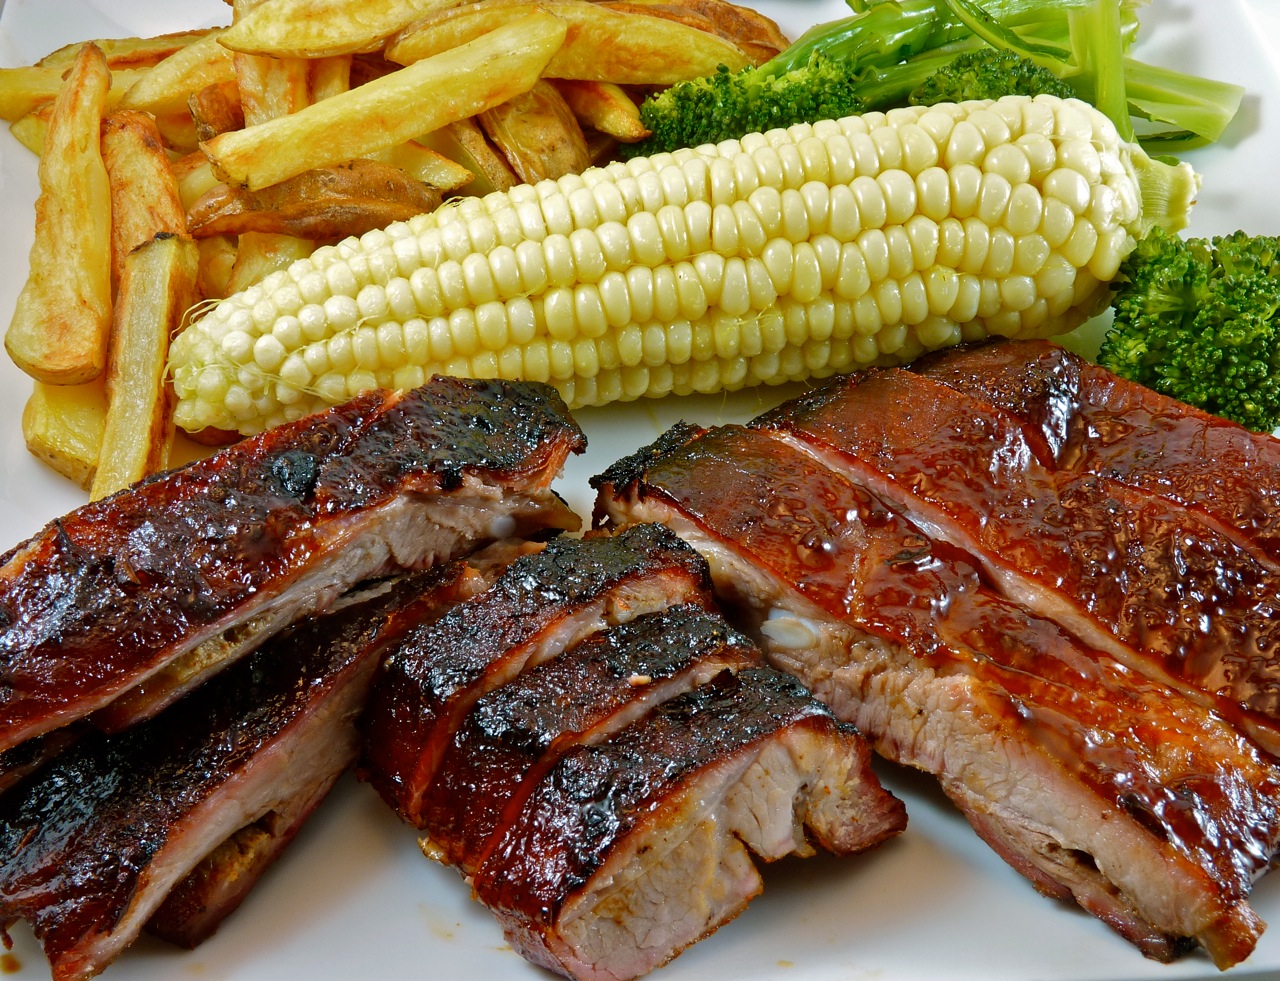
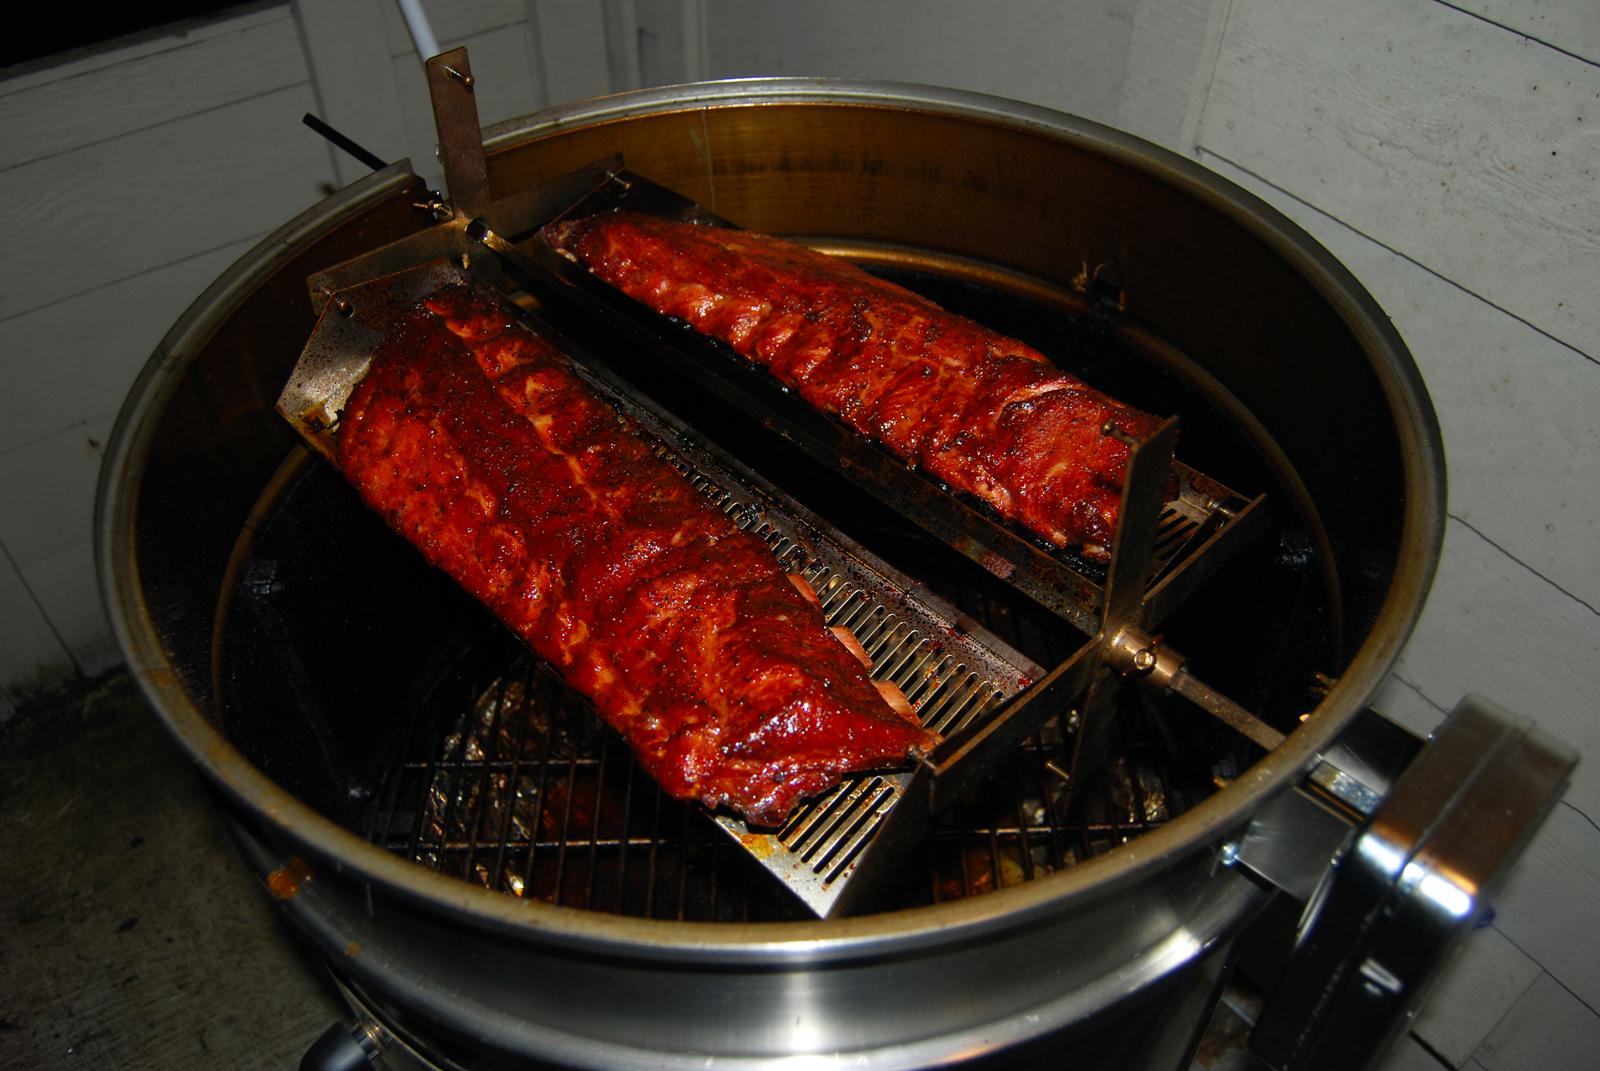
1. I like the St. Louis Style ribs the best (they look like thick baby-back ribs). You will need to take a slight trim off the width so they
will fit within the sides of the tray (don’t waste this trim — cook it too!).
2. Peel off the membrane on the back of the ribs. Once you get it started use a paper towel to help grab and pull it off.
Then rinse the ribs off with water and pat dry.
3. Now apply a heavy coat of your favorite seasoning. I really like Montreal Steak Seasoning or just salt and pepper.
Generously apply front and back.
4. On the next step I have done two ways: I let it set in the fridge overnight; or I put them on The Rib-O-Lator™ right away.
They both tasted the same to me, so you pick.
5. If you want smoke flavor, place your smoker box on top of the burners on high heat. Once it starts to smoke, turn to low.
6. The grill temperature should be about 225-250°. If possible, don’t have The Rib-O-Lator™ directly over the burner that is on.
Usually one burner at the end is all you need. If your barbecue is small and that’s not possible just make sure the burner is on low.
I also place aluminum foil or a rimmed cookie sheet underneath The Rib-O-Lator™ to catch drippings. You will want to do
this when the grill is cold.
7. Now place the ribs on The Rib-O-Lator™ and let cook for about 1 hour.
8. On this step you will need a spray bottle. In the bottle add 1 cup of Dr. Pepper, Apple juice or Coke as well as a few teaspoons of the
BBQ sauce you’re going to use (as long as there are no chunks in it as it will plug the sprayer) and about a teaspoon of olive oil.
After the ribs have cooked for about an hour, spray with the mixture. Do this about every ½ hr or so. If you don’t have
a spray bottle then you can baste them with the mixture instead.
9. At about 3 hours of cooking they should be looking pretty good. Now you want to baste them with BBQ sauce. Baste them
every half hour as this will give the sauce time to caramelize nicely.
10. At about 3 to 3½ hours take a toothpick and poke it into the meat — the toothpick should go through like you are putting it
into butter. If It doesn’t, cook a little longer and then recheck. You can also take a fork and pick at the meat to see how easily it
comes off. If you have to tug at it, then it’s not done.
11. Add more sauce if you like, or eat them as is.


1. Mix one clove of garlic with a cube of sweet butter and add juice from half a lime.
2. Wash the fish with cold water and dry off. Apply a heavy coat of your favorite seasoning.
3. If you want smoke flavor follow the directions in the Rib recipe (#5) above.
4. Spray the tray with Pam or something similar and place fish on The Rib-O-Lator™ to cook.
5. For the fish to turn out perfect you will want to cook it until the internal temperature in the thickest part of the fish is 135 ish. Cook longer if
you want it firmer. It is important that you have a thermometer to check this, don’t guess.
6. After about a half hour of cooking, baste the fish with your butter mix. You can do this a few times until done.
7. Using a long barbecue flipper, slide it under the fish and lift off the tray onto a plate and eat up. (Bacon optional)
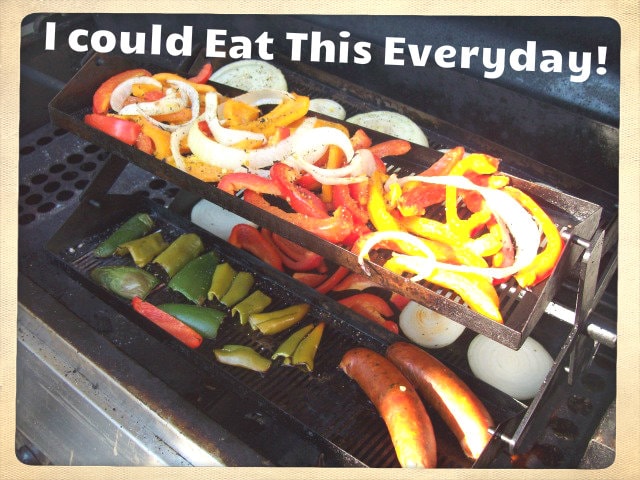
1. Cut up an assortment of your favorite vegetables. I cooked some red and yellow peppers, lots of onions, mushrooms, asparagus,
zucchini, and for the first time, jalapeno peppers! If you want to make them less hot just cut out the seeds and the pith (the white stuff)
and they taste amazing.
2. You can cook them as is or you can mix them with a little olive oil and seasoning (salt and pepper) and then place on the tray.
3. Cook them to your preferred doneness. They taste so amazing it might turn you into a vegetarian!
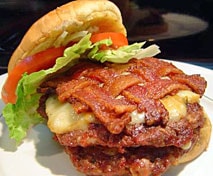
1. You can use regular hamburger or you can have your store grind some out of beef brisket, sirloin steak etc.
2. I like to mix Worcestershire sauce, lots of seasoning (either one or both) some small chunks of cheese, and some cayenne pepper
for a little kick. Mix it altogether.
3. Make a good sized patty and place on The Rib-O-Lator™.
4. The advantage of doing it on The Rib-O-Lator™ is that you won’t start a grease fire and the burger won’t burn — it’ll be nice and juicy.
I like mine with a little pink in the middle.
5. I like to take some of the sliced jalapeno peppers (already gutted so they’re not hot) and cook them at the same time. Put them on
the burger just before you add the cheese.
6. Put your favorite cheese (I like pepper jack) over the top and a big slice of sweet onion (you can cook the onion on The Rib-O-Lator™
or just put it on raw if you prefer) a slice of avocado, and of course BACON which, by the way, you can cook on The Rib-O-Lator™ as well.
Prepare to get a delicious mess on you!
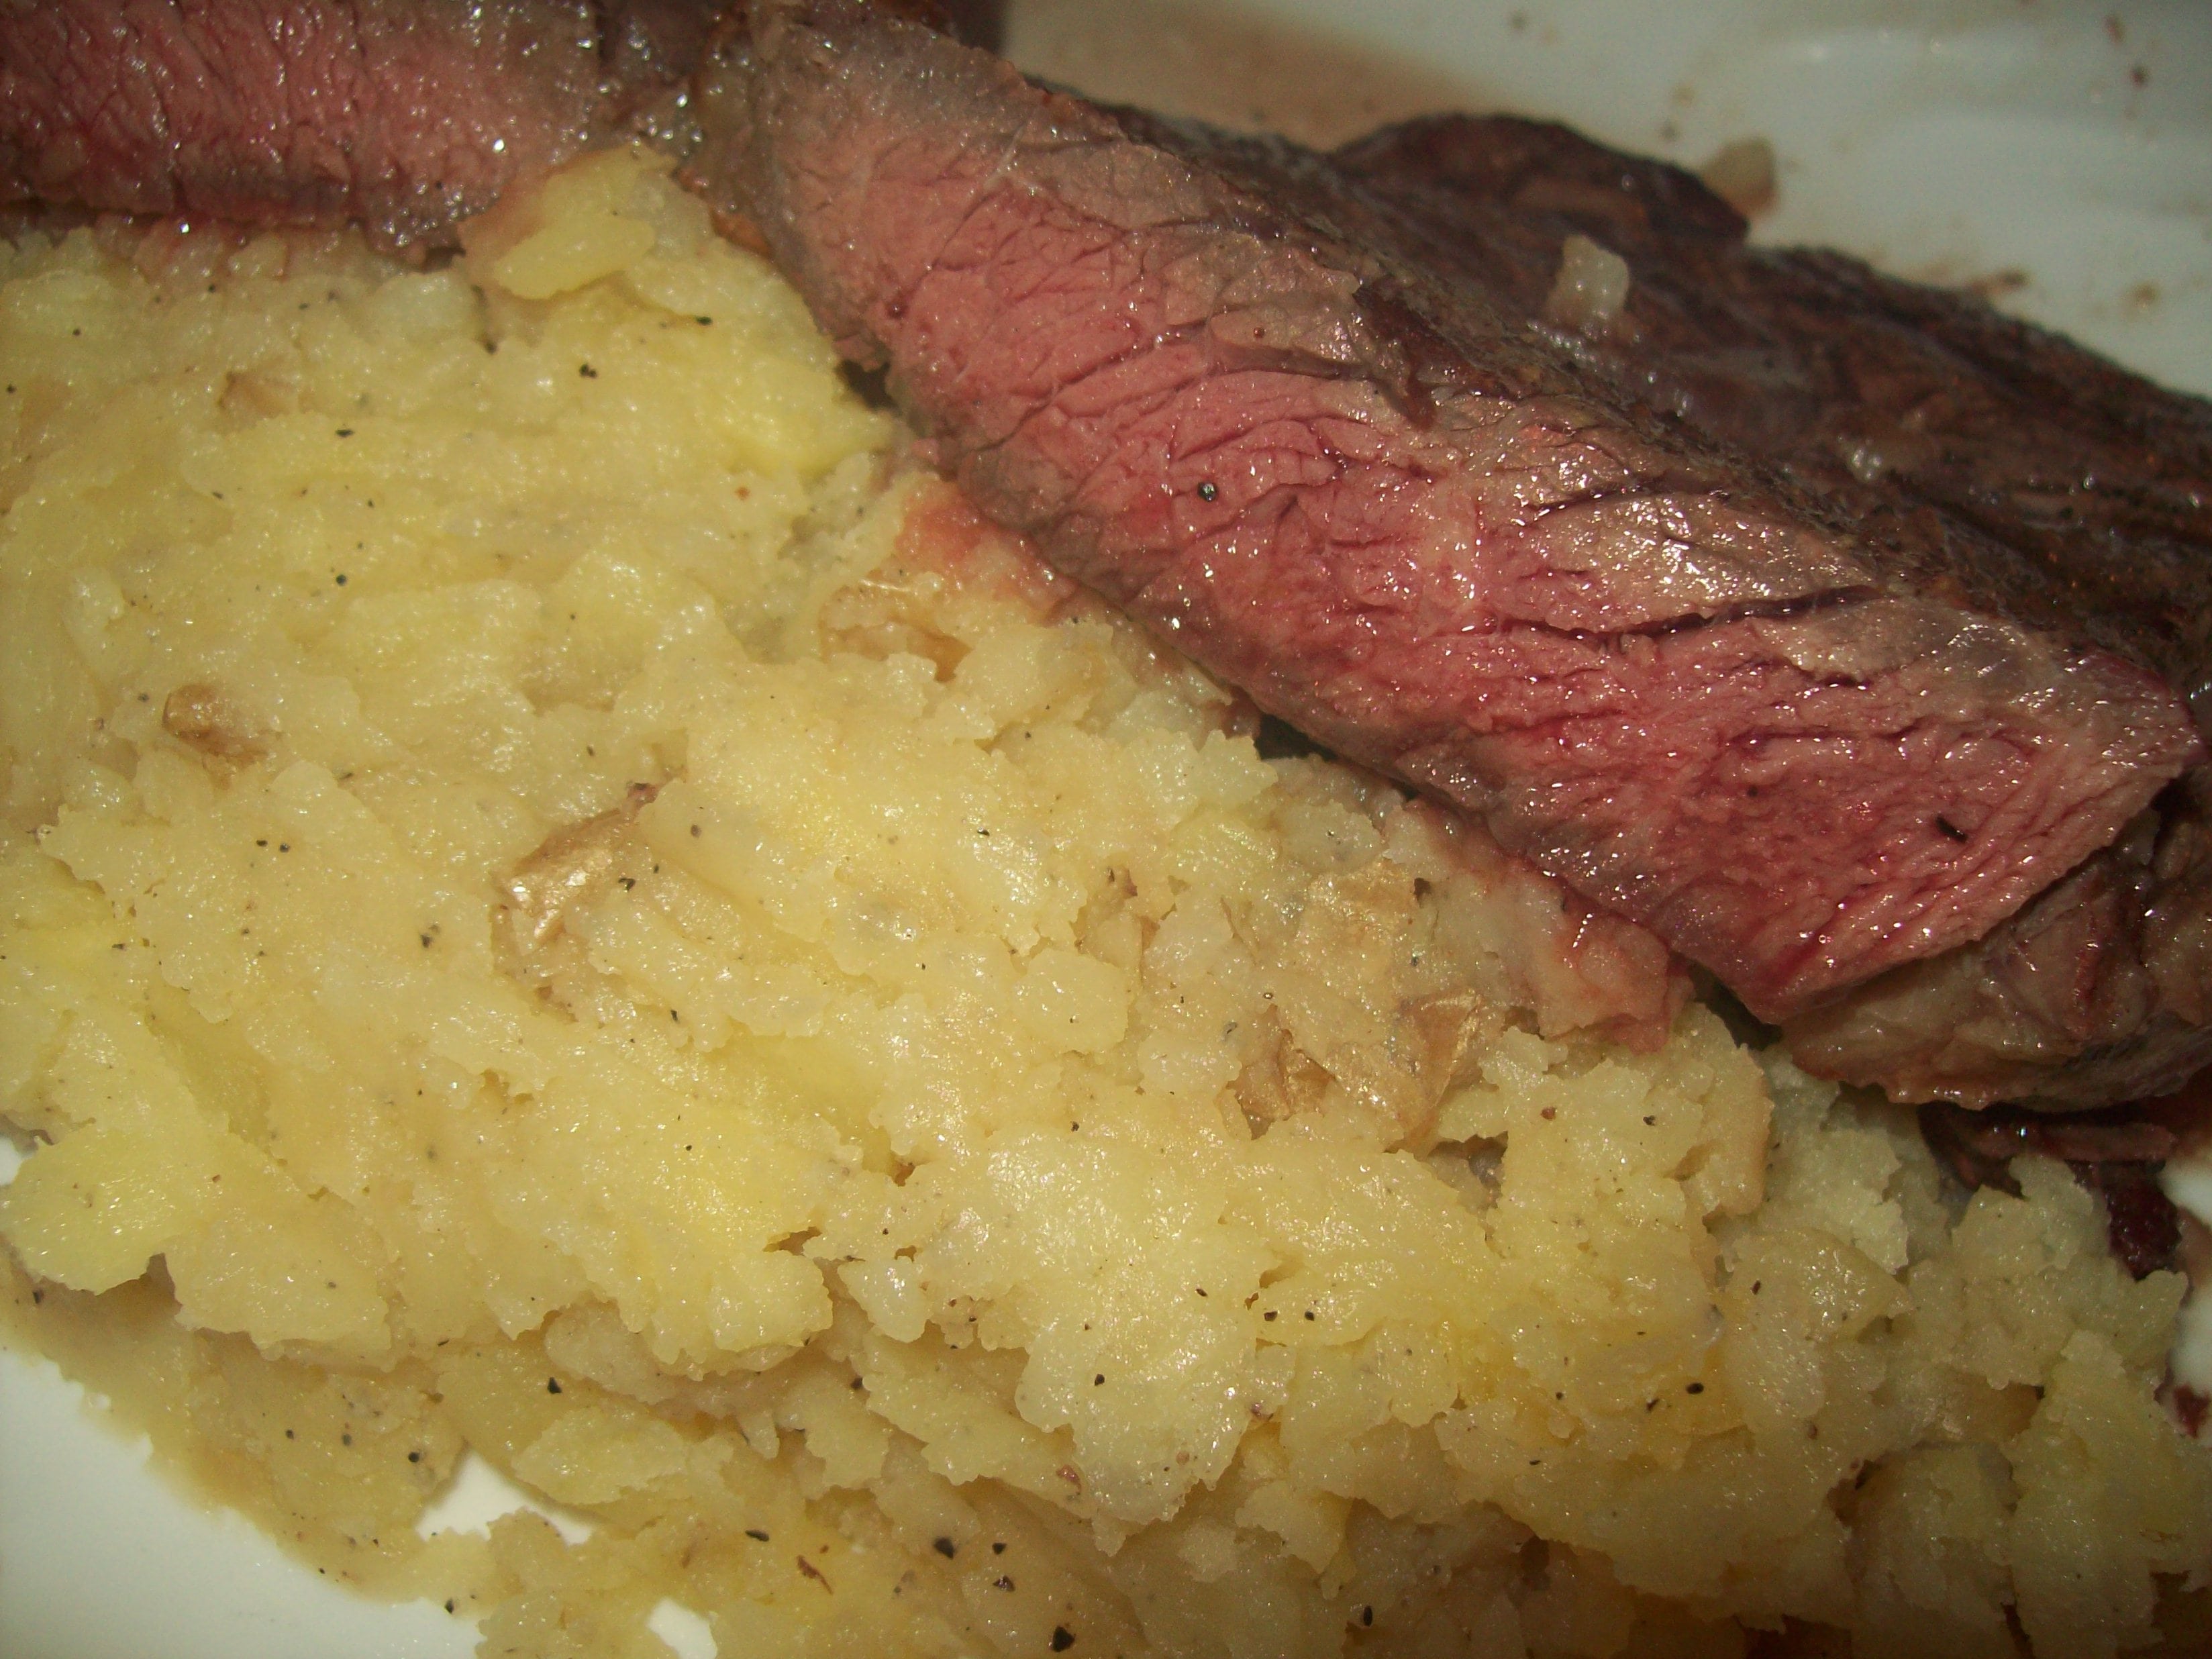
For steaks there are only two things I use to season. One is just a heavy coat of salt and pepper. I know this sounds too simple but it will give
you great flavor. The second is Montreal Steak Seasoning.
Cook to your preferred doneness. I like my steak medium-rare so I cook it until the internal temp is 125°F and then place it on the side burner
to sear for a few minutes.
After you taste how good it is, this will be the only way you do steaks again.
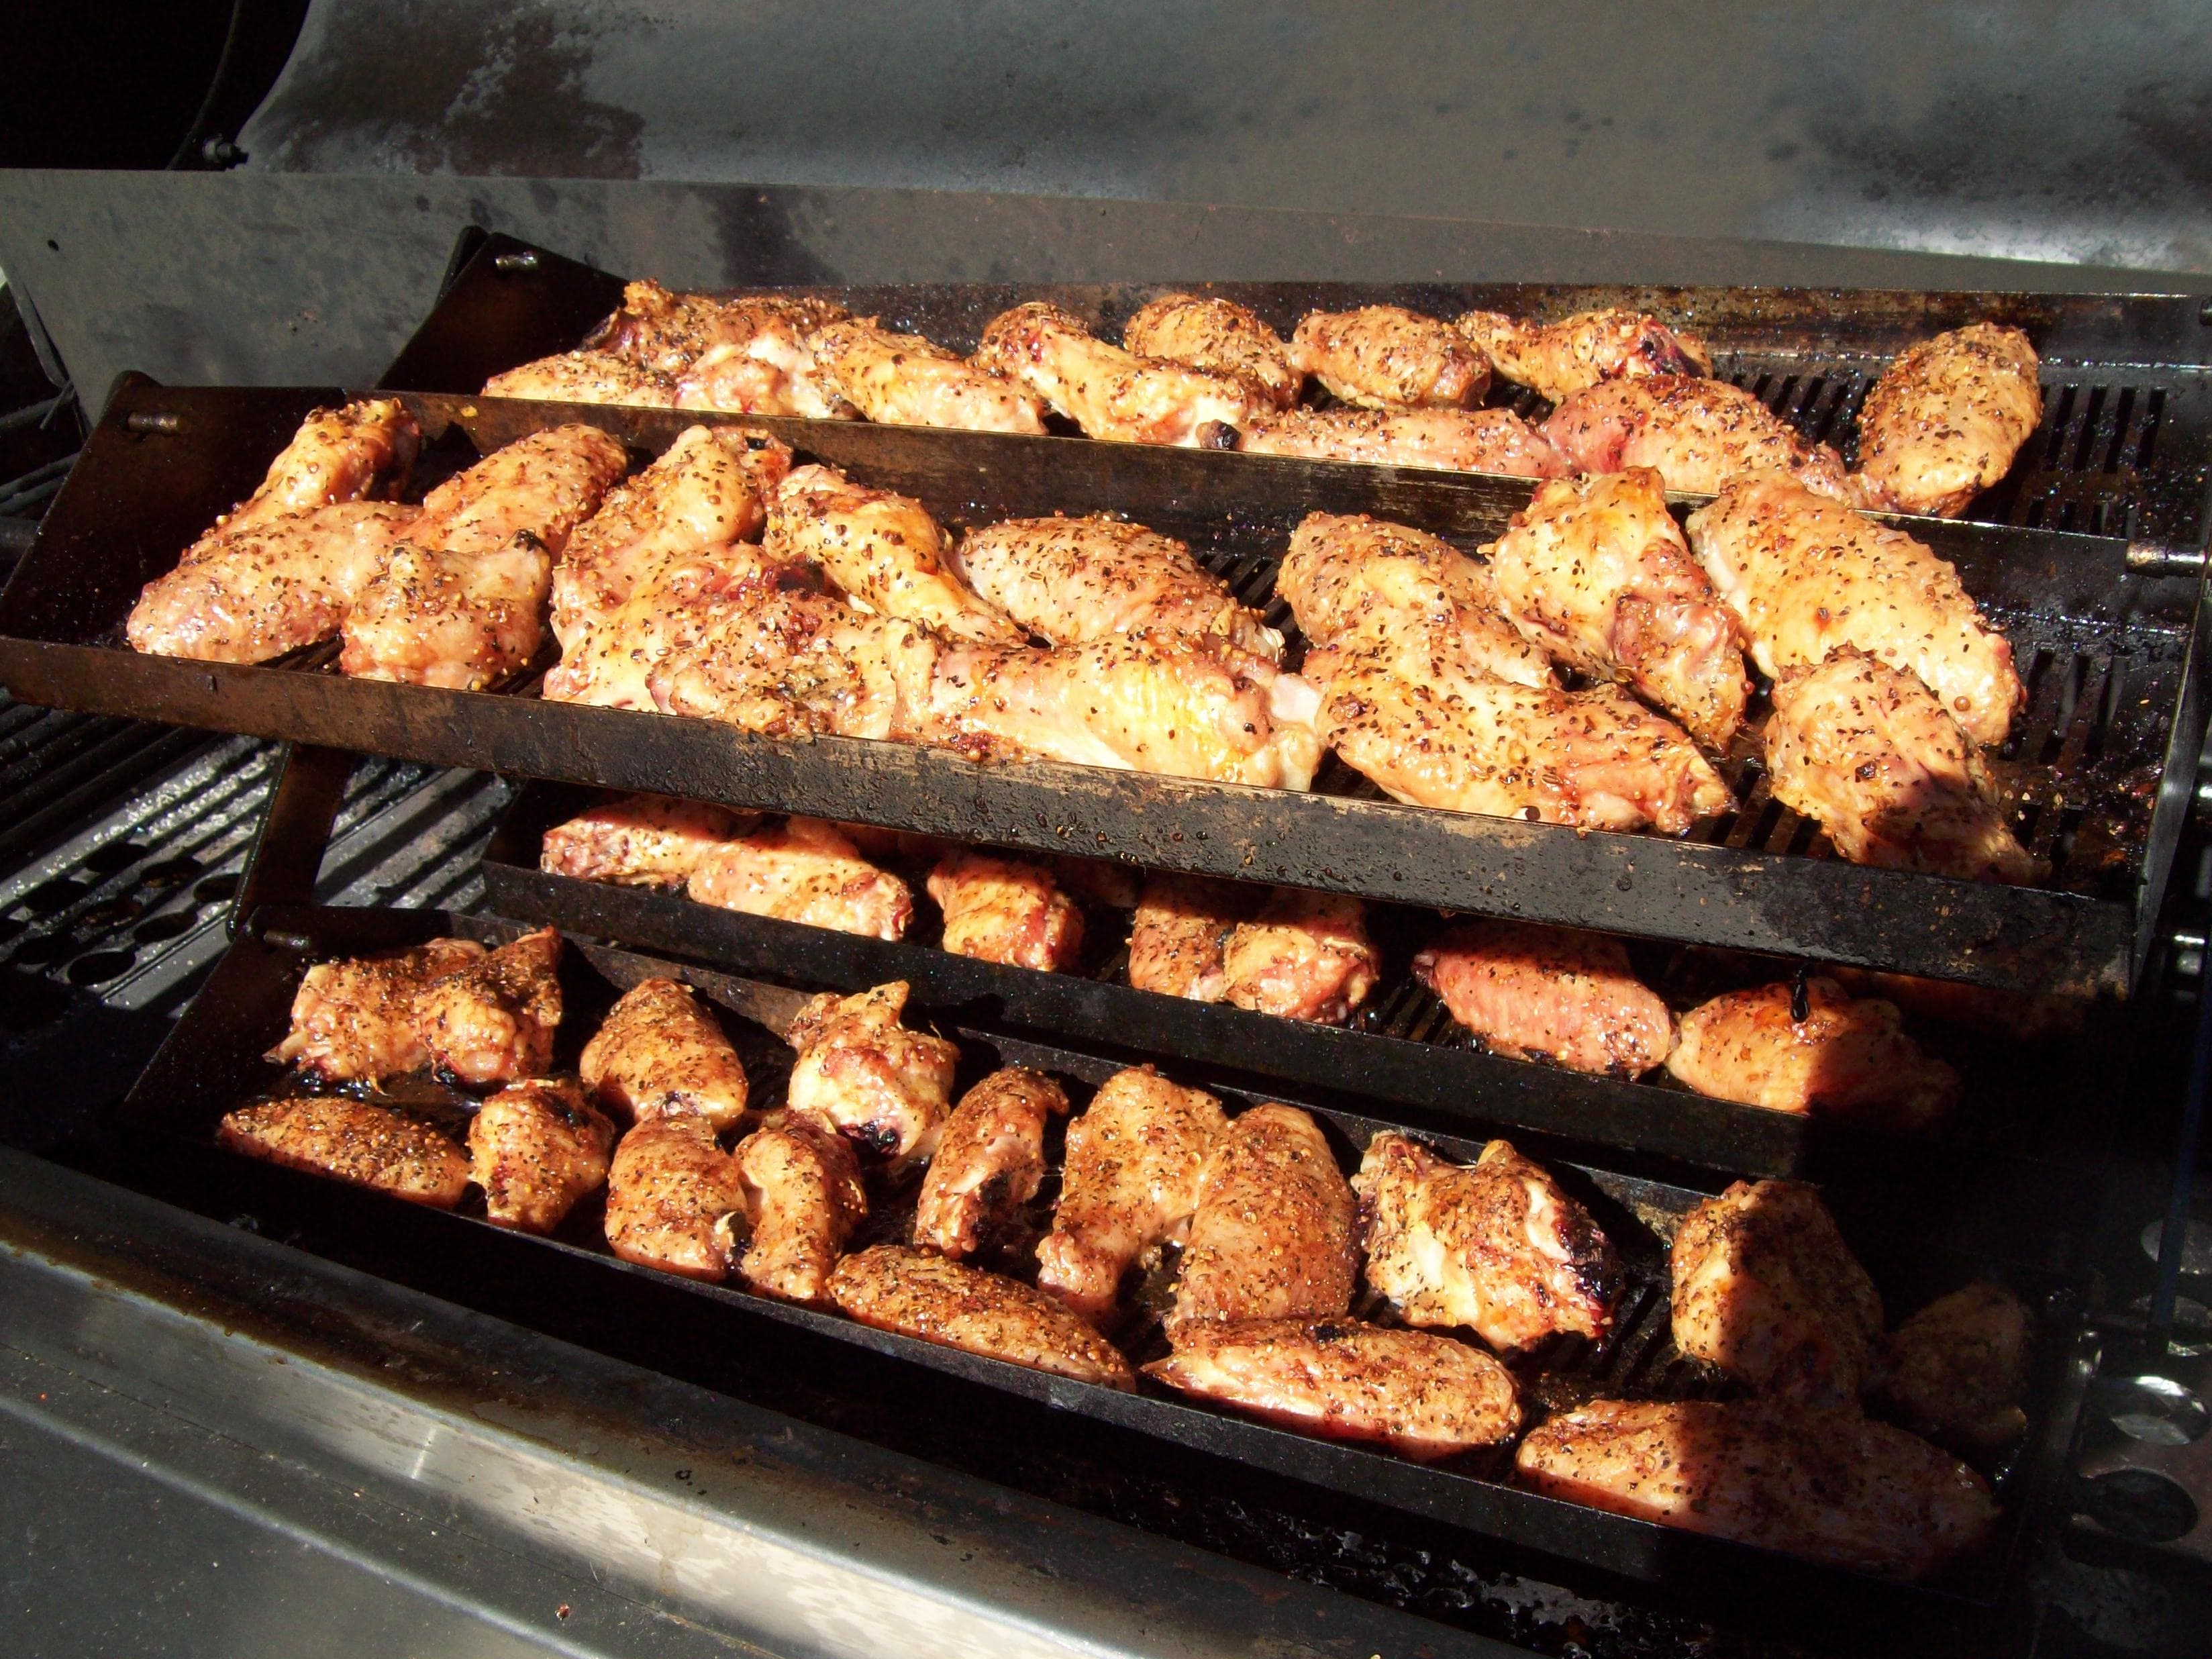
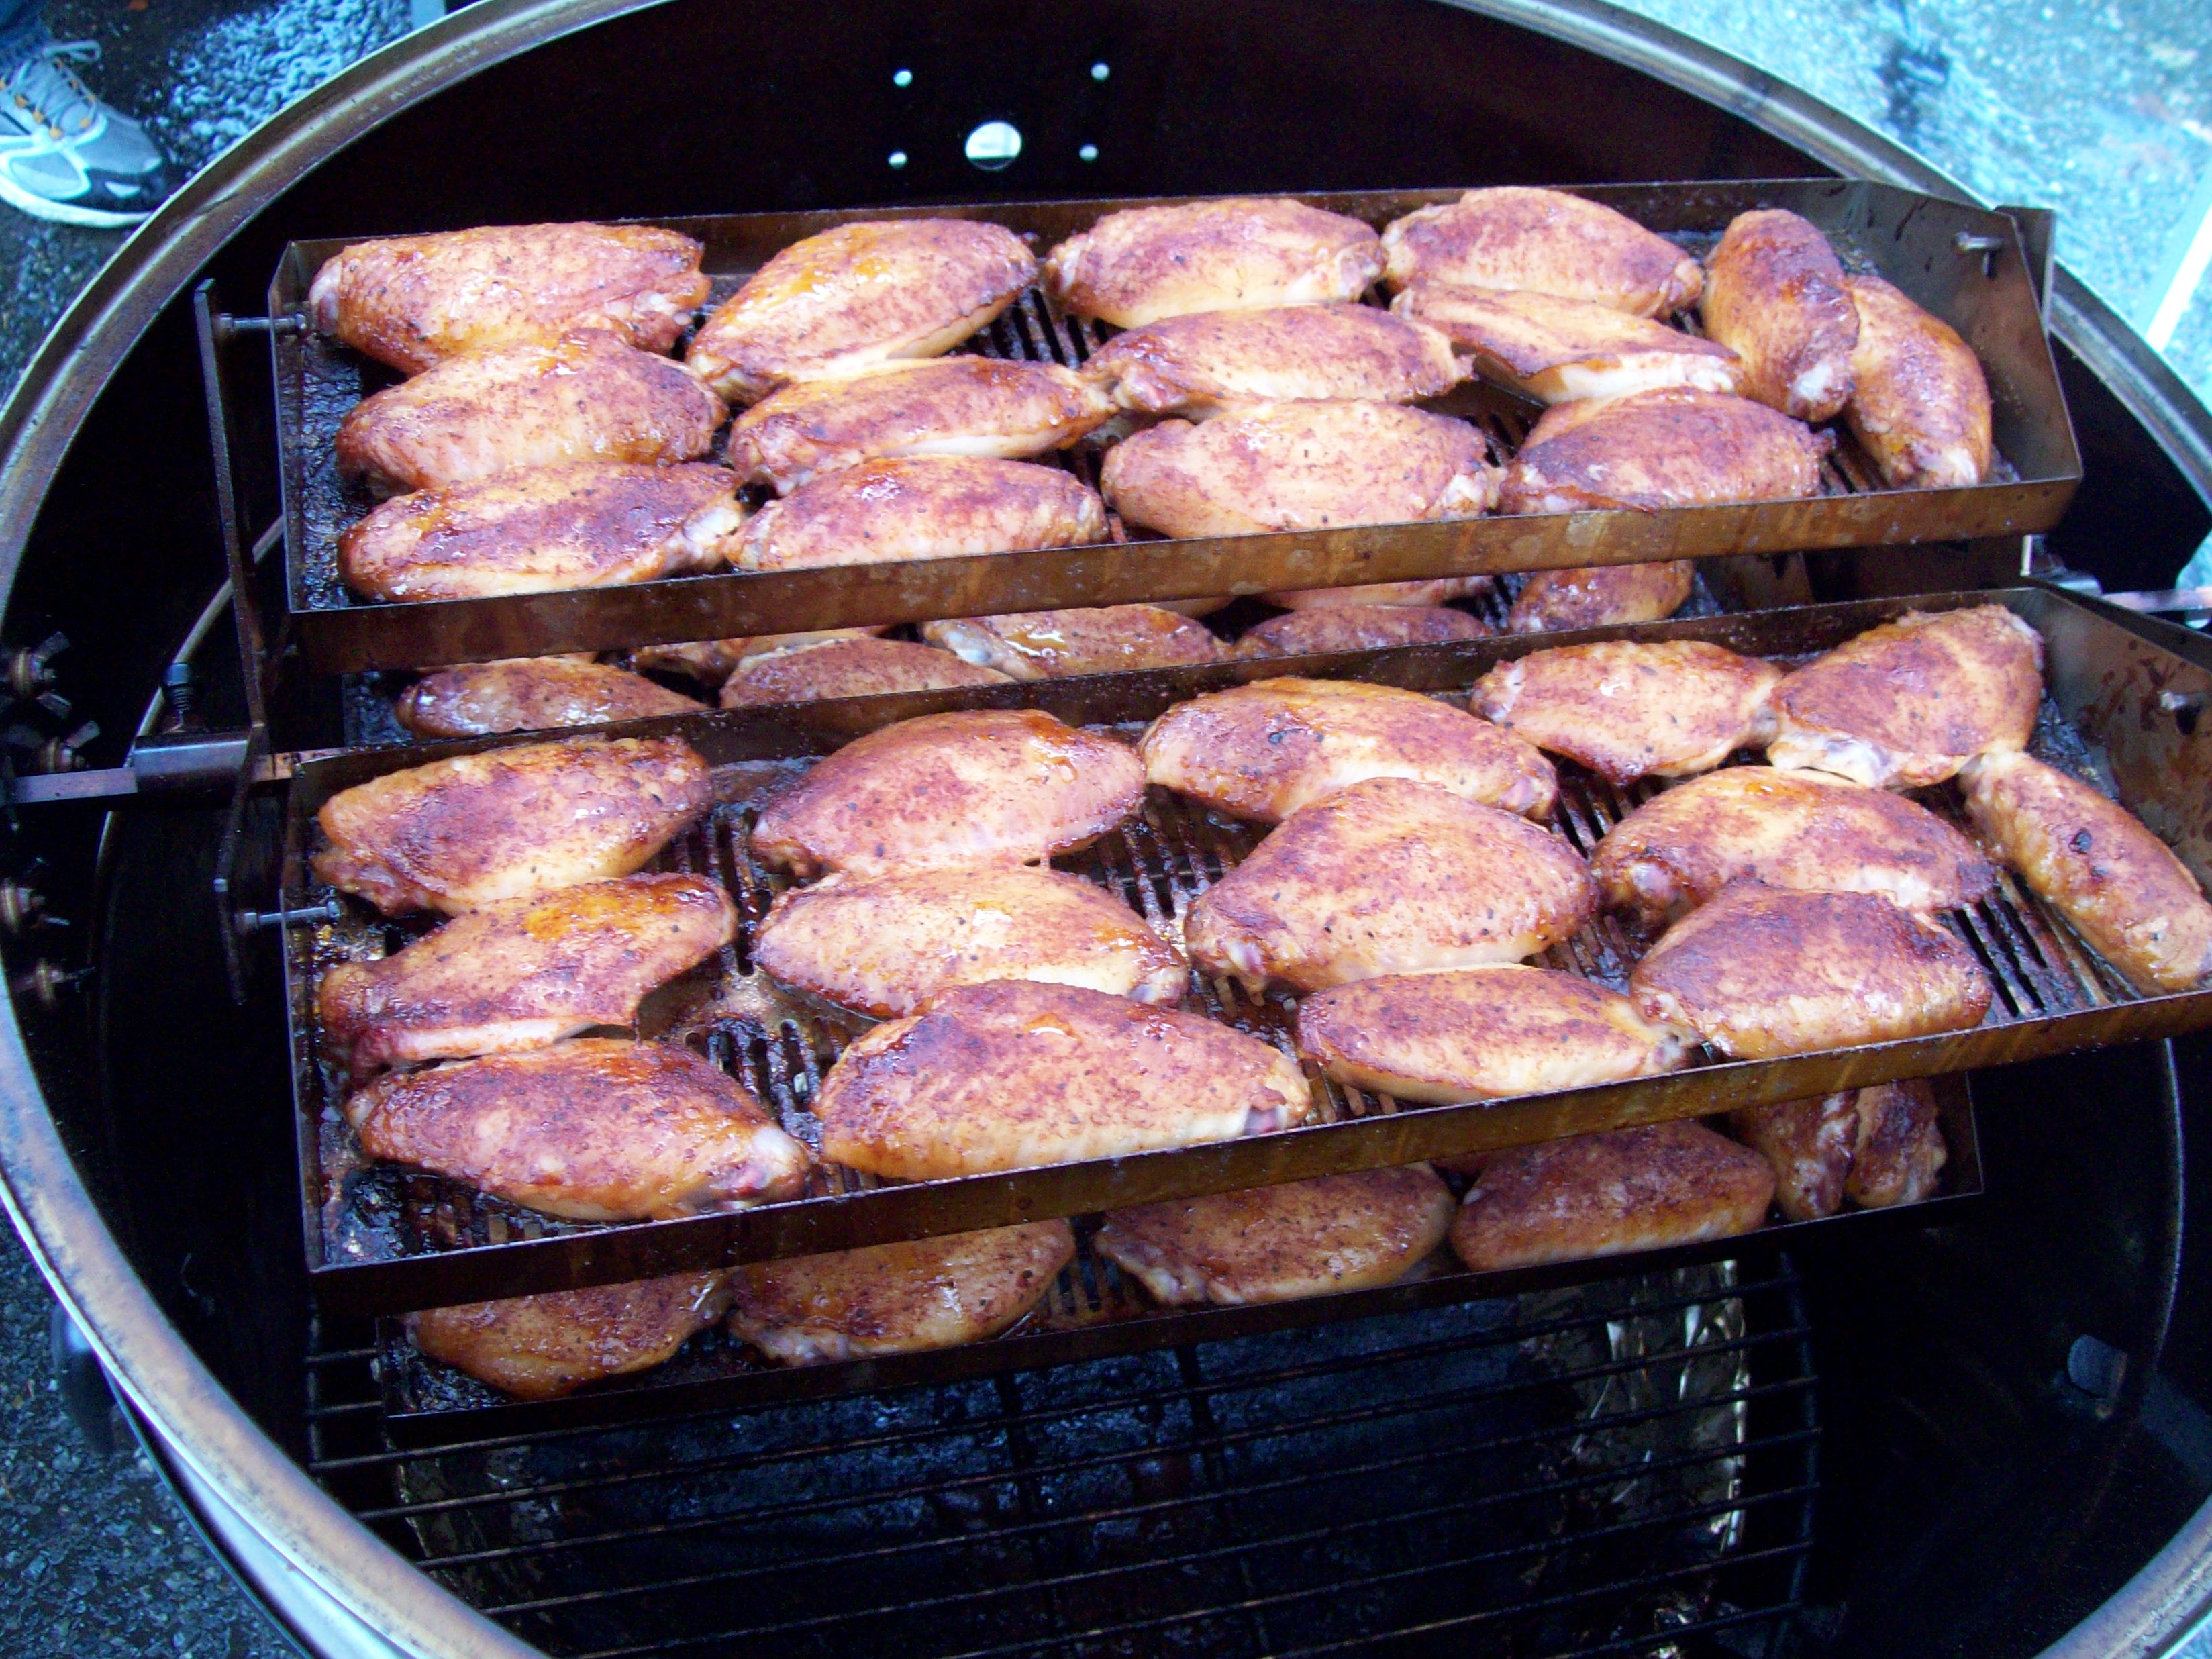
First I separate the wing from the drum — you don’t have to, it’s just my preference.
If you load all the trays you’ll be able to get a total of about 60 wings and drums on The Rib-O-Lator.
1. If I’ve got the time, I marinate them in Wish Bone Italian dressing (it’s the best to use) in the fridge overnight. I use the large ziplock
freezer bags but any plastic bag will do. I do this because you can scrunch the chicken together and you won’t have to use as much dressing.
2. The next day I remove some of the excess dressing and then place them in a big bowl or baking sheet and coat them with Montreal steak seasoning.
3. If I don’t have this much time, I just season them and put them on trays straightaway.
4. I spray the trays (while cold) with Pam so they won’t stick.
5. This is the important part: I place them on the tray by staggering them back and forth so the tray will be balanced. I place one piece to the very
edge of the tray that way they have nowhere to move and then I place one up to the other side and then fill in the middle. Since food shrinks
as it cooks, you don’t want to put everything in the middle and have it start sliding to the edges during cooking because this will unbalance the tray.
Balancing is key.
6. You will be able to tell if it is unbalanced as the tray will want to tip one direction or another so stagger them so the weight is even
and the tray is level and then fill the next tray. You don’t have to use all the trays, sometimes I just use one or two.
7. They will be done when the internal temp is 165º in about 40 minutes but I let them go until the skin is a little crispier, about 1 hour. Every grill is
different so they may crisp up sooner for you so for the first time you do it keep an eye on it as the time gets near.
8. Then I put them on a plate and like a bunch of crazed monkeys on crack we all shove them in our mouths until there are a pile of shiny bones.
You want to be careful eating this way, as there have been times I found myself chewing on my knuckles and they don’t taste like chicken!
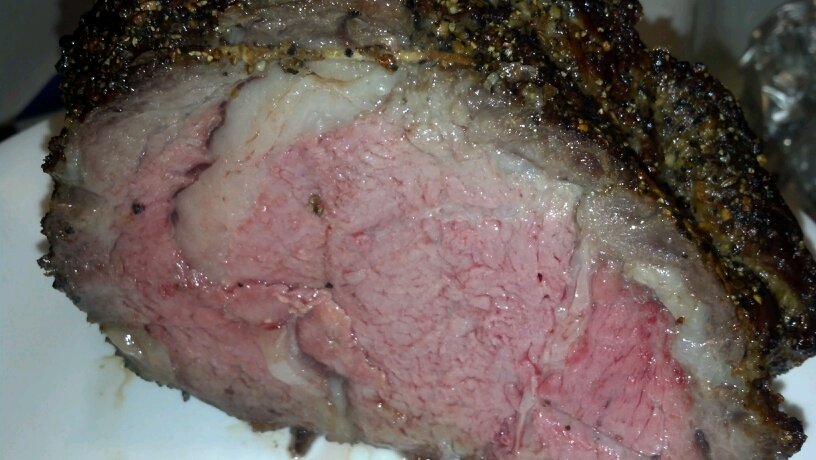
To make a great tasting rib roast I just buy the boneless ones at Costco. I put a heavy coat of Montreal Steak Seasoning on it so there will be
a thick flavorful salty crust when it is done.
1. Cut the roast into 5 inch sections and carefully balance the roast on the tray. Put it on its end as this is the flattest and most stable.
Then do this for the other half.
2. I first set the grill at about 200 degrees and cook until the internal temp of the meat is about 120-125°. Then i turn up the heat to about 400° or
more so it will make the crust crispy on the outside. If it is already to your liking then just cook until it is the desired doneness you want.
The total cook should take about 3 hours.
I gotta tell ya, that salt crust was so good I ate two slices standing at the counter.
You can also take the crusty drippings left in the catch tray below and add a little water and red wine to it and stir
it around until it dissolves and you will have a great au jus.


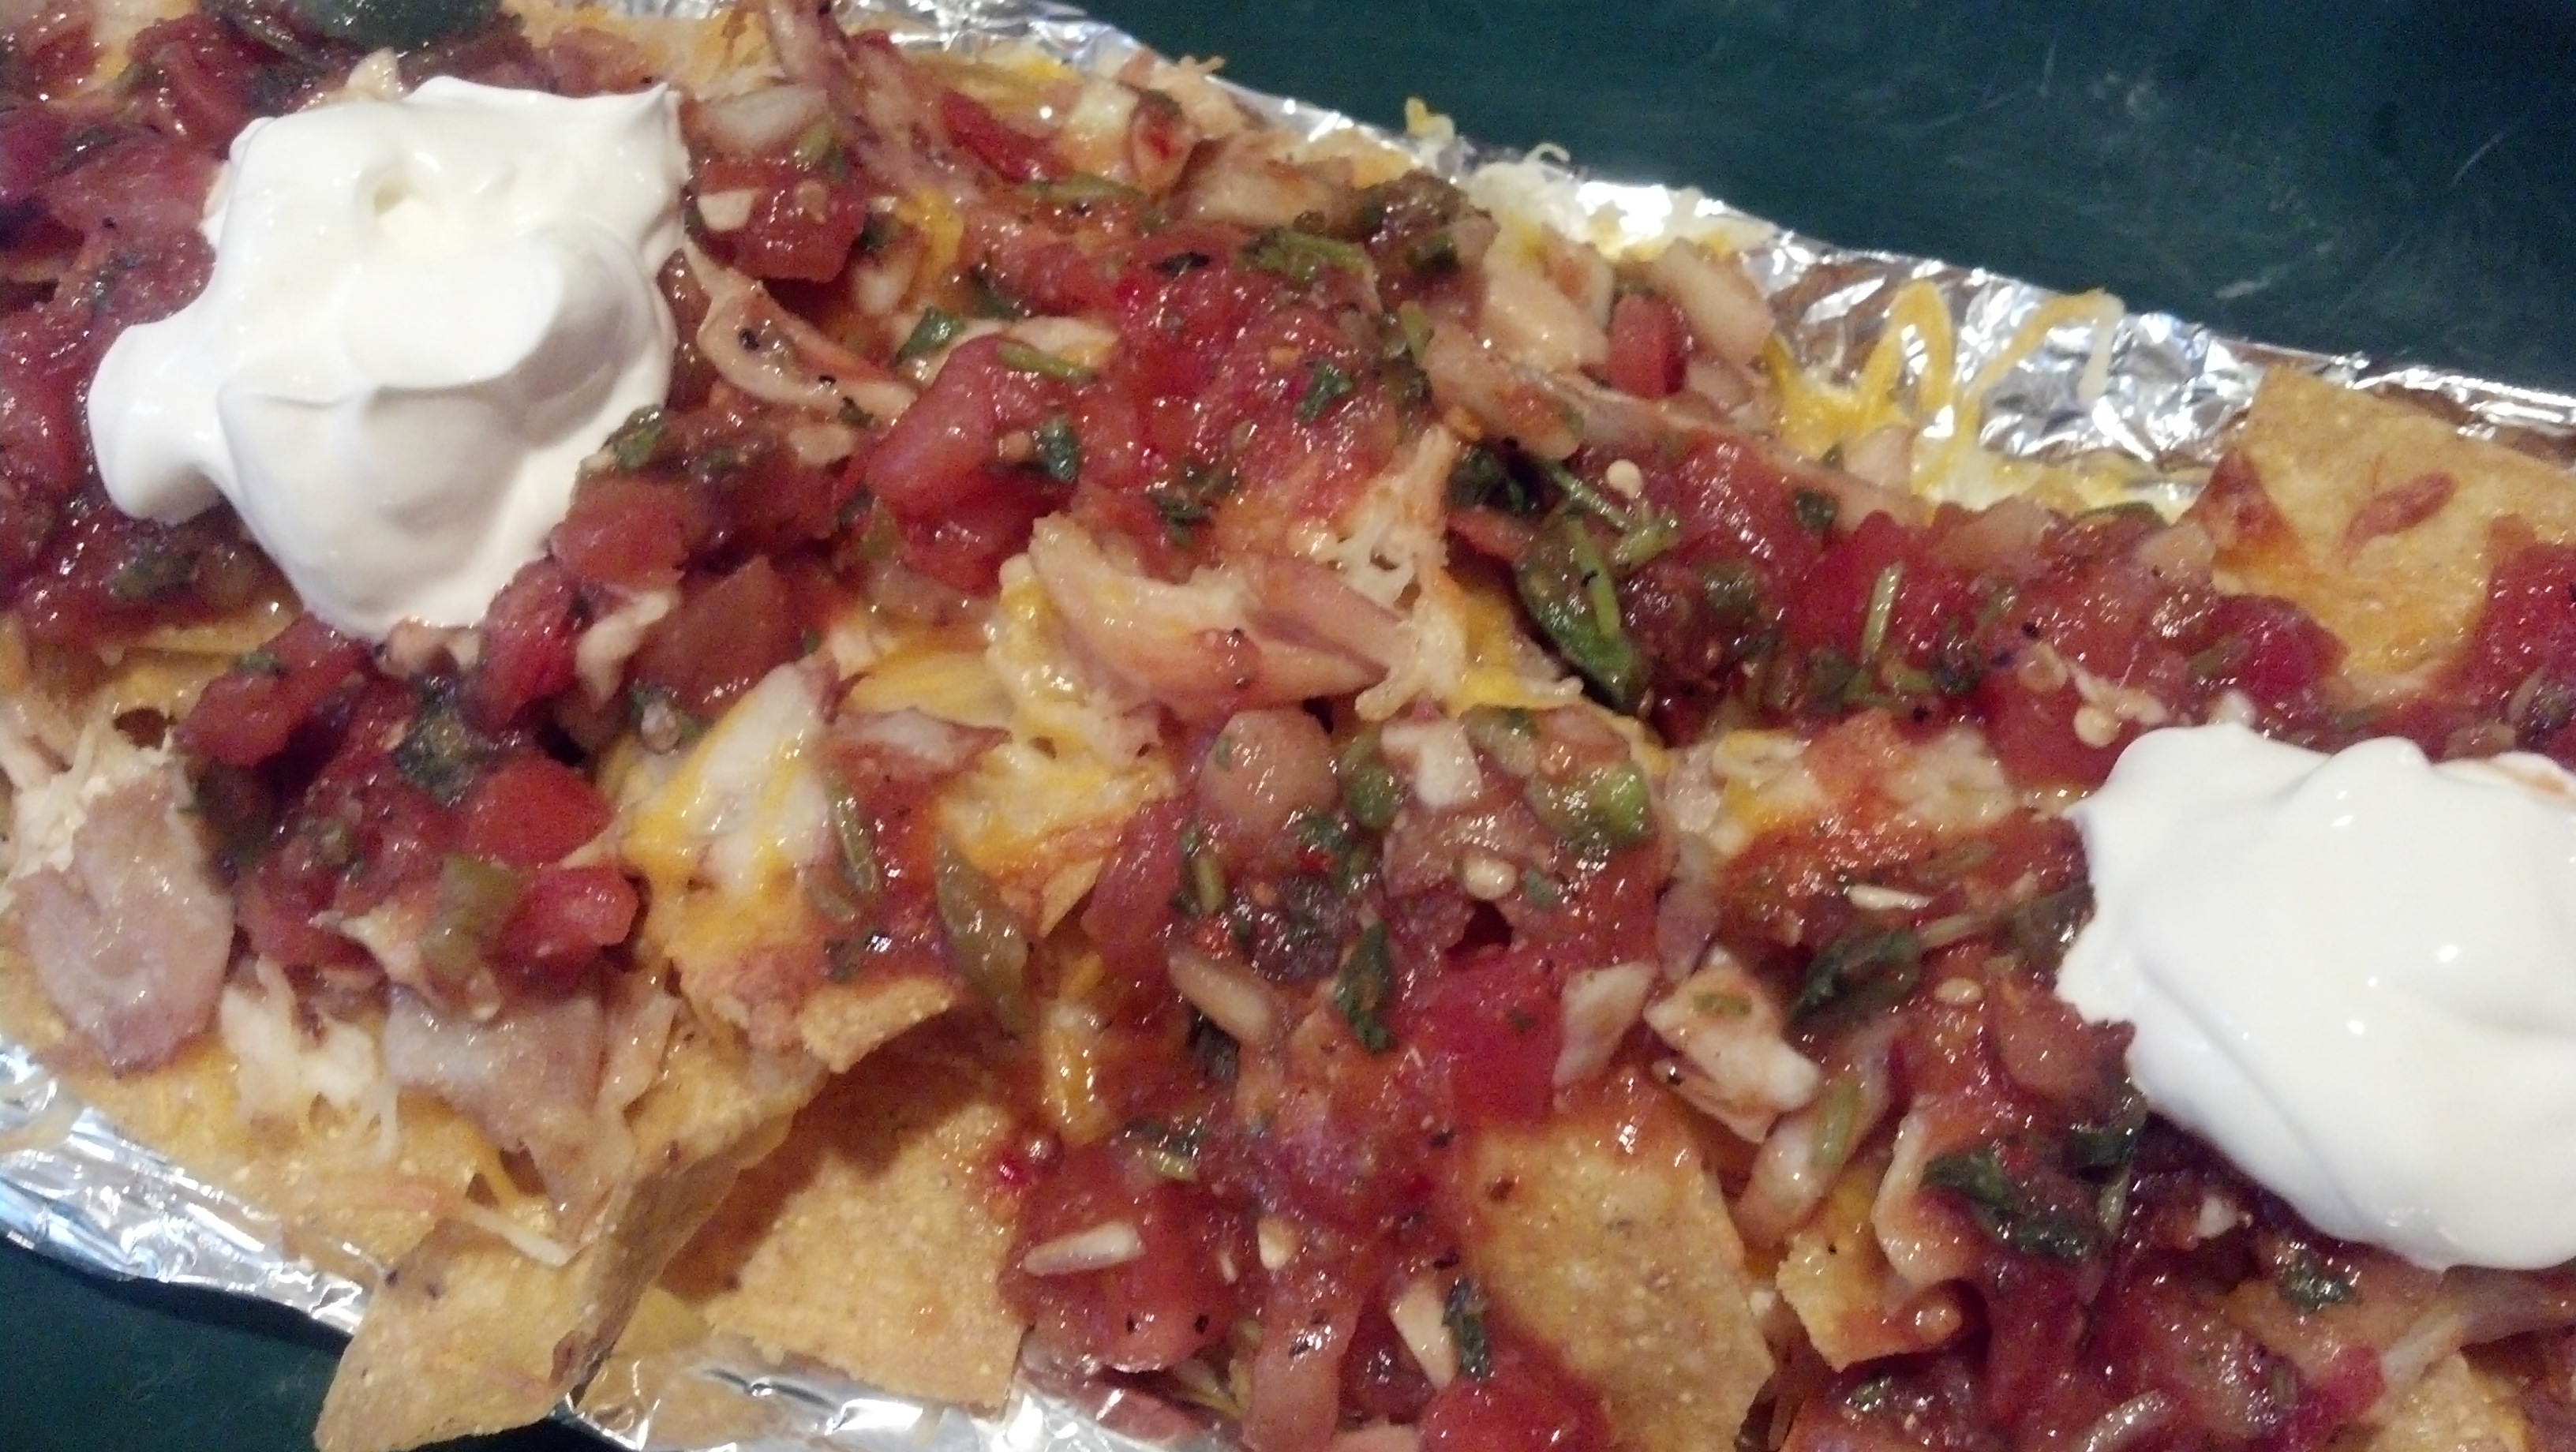
I made some rotisserie chicken cheese nachos and being the first time I didn’t know what to expect. All I gotta say is, I ate them all!
1. Buy unsalted tortilla chips.
2. Put a thin layer of chips on the tray.
3. Then add shredded cheese. (I just bought a bag of shredded mozzarella and white cheddar) and sprinkled a good layer on the chips.
4. Place some chicken or other meat on top of the cheese. I bought a rotisserie chicken at the store and used it because it had great flavor and was easy.
5. Repeat steps 2-4 so you have three layers.
6. Heat them for about 15 minutes until the cheese melts and remove. The advantage of doing them on the foil is that you can just lift it right off the tray.
7. Now add the salsa of your choice with some sour cream and whatever else you want on it and introduce them to your belly.
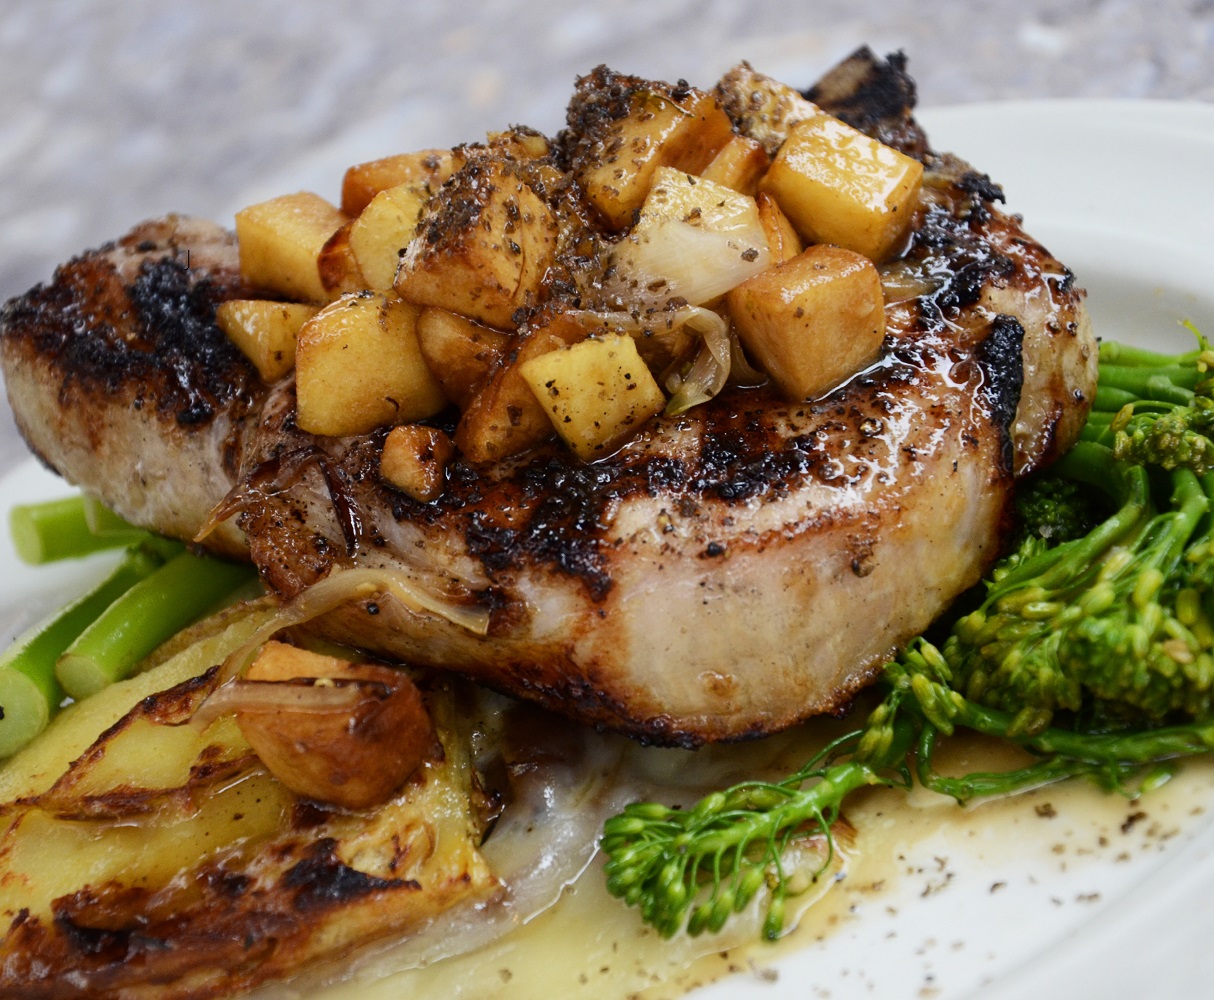
I just coat them with salt and pepper and cook until the juice runs clear about 155° internal temperature. They taste great!
If you want sear marks place the chops on your cooking grate at high temp. If this is not possible because of no room, you can use the side burner that you never use and place your cooking grate on top of that to sear.
You can use store bought meatballs or make your own. If you make your own do the following:
1. Mix your favorite seasoning (or use Montreal Steak Seasoning) into the meat
2. Mix in small chunks of pepper jack cheese
3. Make a good size ball
4. Wrap with bacon so the ball is covered. (You knew there would be bacon involved).
5. Now place on The Rib-O-Lator™. You’ll know when they’re done.
1. BACON, of course!
2. Shrimp
3. Hot Dogs
4. Meatloaf and Meatballs
5. Corn
6. Pizza
7. Cut up Potatoes
8. Believe it or not — Bread!
9. Desserts
10. Basically anything you can cook on your stove or oven you can cook on The Rib-O-Lator™.
More recipes to come…
Or, if you have some that you want to share let me know and I will add them here.